Sunday, 8 June 2014

Flower garden cupcakes

A colleague at work asked me to bake some cupcakes for a friend who was having a baby. I used to do a lot more baking, but I just don't have much time for it any more; however as it was only for 12 cupcakes, I said yes.

My current "go to" cupcake recipe is Hummingbird Bakery's vanilla cupcake. I had avoided getting their book for ages as I had read quite a number of bad reviews on it, but when a friend gave it to me for Christmas, my decision was made for me!


I think the reason why people don't like it is that the recipes' ingredients and methods are a little unconventional. If you don't read the instructions and just make cakes the way you normally would, these will not work properly! I have never had a problem with anything out of their recipe book - everything has worked perfectly (if you do get this book, I heartily recommend the Nutty Apple Loaf).

The reason I like their vanilla cupcake over the many (many) other recipes I have, is that you don't have to cream the butter & sugar together. I know, it's irrational, but I just don't like that part of baking!

The only potential problem with their recipe is that it doesn't make that much cake. It says 12, but I think that's for the more English "fairy cake"-sized confections. If you want the more traditional American muffin-sized cupcakes (and, let's face it, who doesn't want more cake?), the recipe needs to be doubled, or you have to content yourself with 9 or 10 cakes from a batch of batter.

So, this is my interpretation of their recipe, doubled up to make around 18 cupcakes.

Vanilla Cupcakes

Ingredients

240g plain flour
280g caster sugar
3 teaspoons baking powder
1/4 teaspoon salt
80g unsalted butter, at room temperature (not margarine, the taste just isn't the same)
240ml whole milk
2 large, free-range eggs
1 teaspoon vanilla extract

Method
  1. Preheat the oven to 170C (150C for fan-assisted ovens).
  2. Line 18-holes of 2 muffin trays with paper cases.
  3. Sift the flour, sugar, baking powder and salt into a large bowl.

  4. Add the butter and beat together until the mixture looks like fine breadcrumbs.

  5. Pour in half the milk and mix until the milk is just incorporated.

  6. Add the eggs and vanilla to the remaining milk and beat with a fork until combined. As an aside, I always use Nielsen-Massey vanilla extract. It's a little pricey, but the flavour is great.

  7. Pour this gradually into the flour mixture, beating the mixture as you do so.
  8. Scrape down the sides of the bowl a few times as you are beating the mixture to ensure everything is nicely incorporated.
  9. Continue mixing for another minute or so until the mixture is smooth - resist the temptation to over-beat, it results in rubbery cakes!

  10. Fill the paper cases until they are about (or just under) 2/3 full. This mixture does rise quite a lot, so you don't want to overfill. I always use an ice-cream scoop to fill the cases - it works marvellously!


  11. Bake in the over for about 25 minutes or until done.


    There are a few ways to test for "doneness":
    - The cakes smell good
    - If  you prod them gently, the sponge should spring back
    - If you insert a skewer into one, it should come out clean with no liquid or crumbs clinging to it
    - The cases should be hugging the cakes tightly and pulling away from the sides of the muffin tins
  12. Cool the cakes for about 5-10 minutes in the tins, then take them out and put them on a cooling rack to cool completely.
For these ones, I was asked to just top them with buttercream. I always find regular buttercream very sweet, so I decided to spread it on the top rather than pipe it - I thought this would create a better cake to icing ratio! I did guess a bit at the quantities for the icing, but this seemed to work.

Basic buttercream icing

Ingredients

300g icing sugar
120g unsalted butter, softened
A few splashes of whole milk

Method
  1. Sift the icing sugar into a large bowl.
  2. Add the butter.
  3. Beat together until the mixture looks crumbly.
  4. Gradually, add a little milk (you don't need much) while beating the sugar mixture. Add enough that the mixture comes smoothly together (it's a little magical).
  5. Continue beating for about 5 minutes until it's smooth and fluffy. You can add any colourings or flavourings at this stage too.
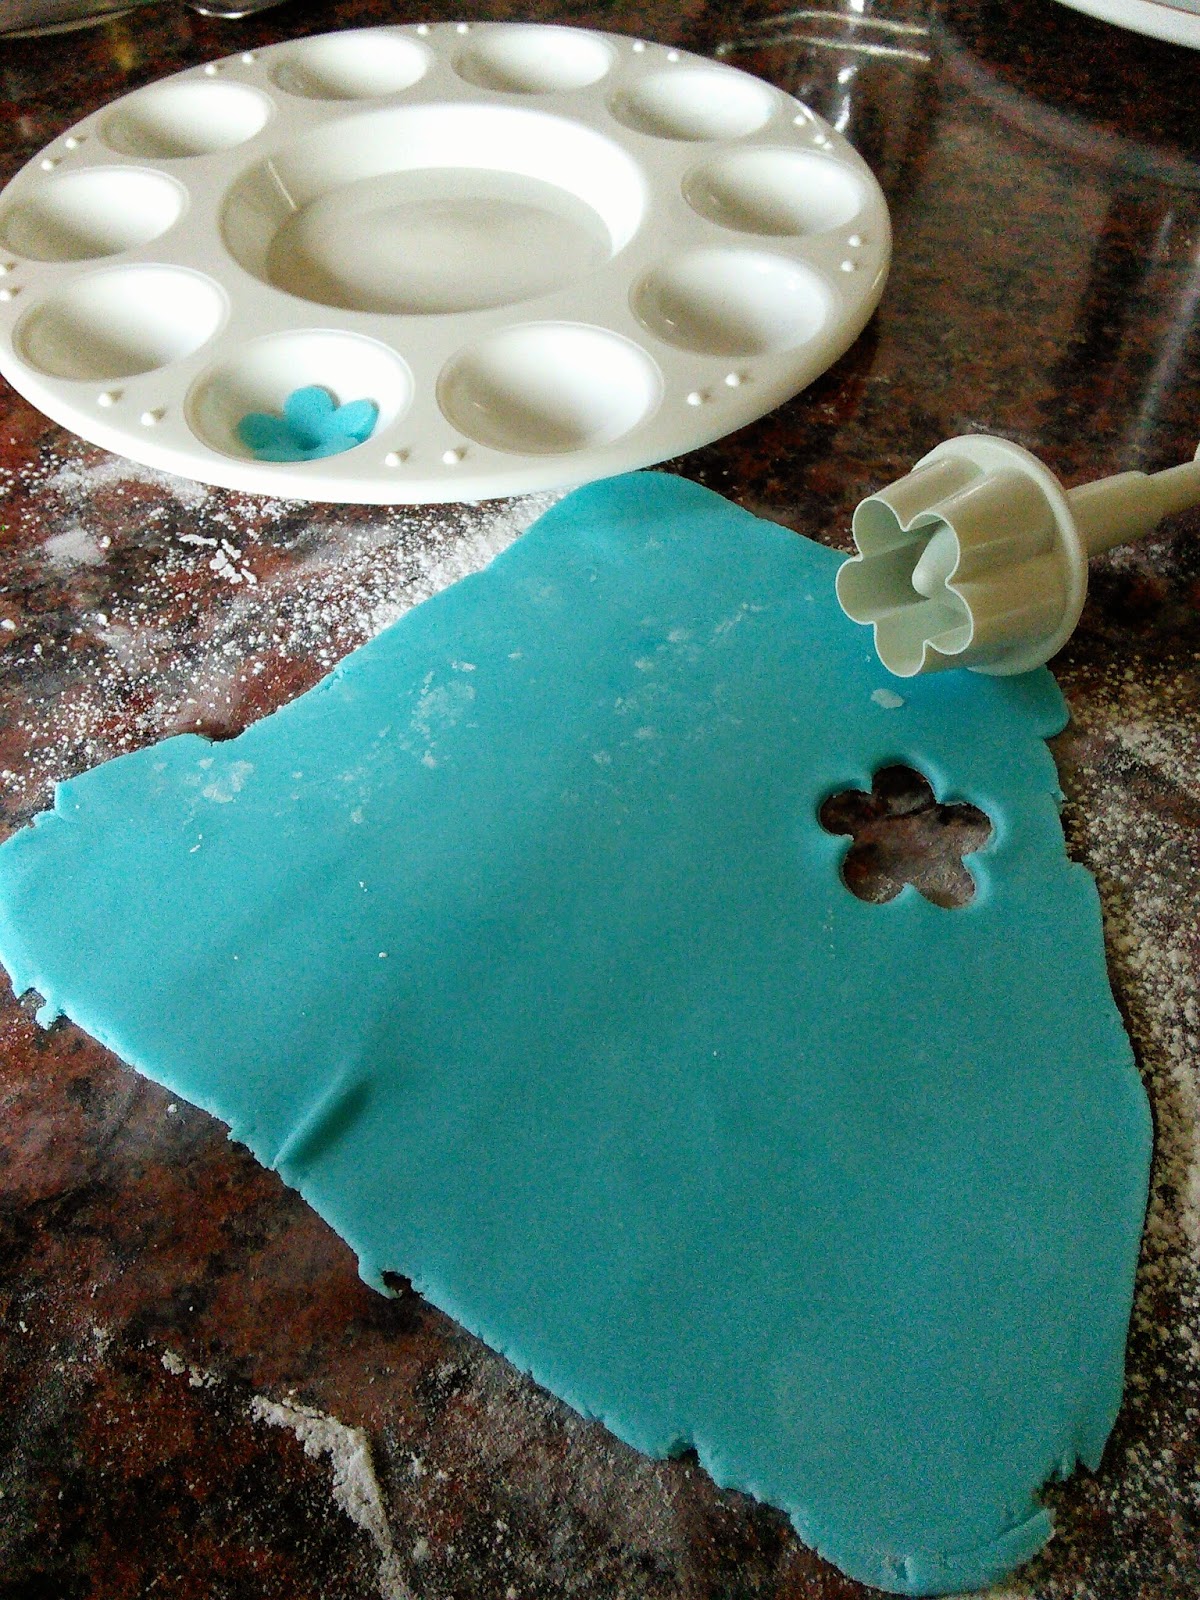
I made some flowers and leaves from sugar paste to go on top of them.

 Along with a generous helping of edible glitter, they looked quite sweet :)

Saturday, 7 June 2014

Rainbows!

Seriously, how cheerful do these look together?


I really do love colour! The problem is that I keep spotting other pretty colour combinations as I'm making my hexagons - it's difficult to stick to my original plan!

I'm using 2 cost effective, let's say, yarns for these - Robin DK and Hayfield Bonus DK. Despite negligible cost difference, the Hayfield is so much nicer to work with. I've seen a few people mention Stylecraft yarn too - I think I will have to give that one a go too with a future project.

Friday, 6 June 2014

The hexagons march on...

We have some friends over later, but I am taking advantage of the long overdue sunny weather to sit in the garden (on my picnic blanket) until then. Whilst braving hay fever, I am also being good & weaving in ends of some hexagons. I hate weaving in, but I hate having a backlog of it at the end of a project even more so I am trying to keep up with it!


I am making pretty decent progress on these - I'm up to 20-something. I'm not sure how many I'll need, time will tell...

Saturday, 31 May 2014

Road trip!

We are heading down to Bristol for the day to visit friends. Andrew is driving, so I thought I would take the time to work on some hexagons. I can't read in the car, but apparently crochet is A-ok!

Friday, 30 May 2014

Daisy meadow

I've had 2 balls of weird greenish yarn hanging around in my stash for a few years - I bought it when I first taught myself to crochet, but never quite got around to using it. In a doomed attempt to stash-bust (& my new found love of granny squares), I made a little blanket with it.

Because of the green colour, I thought it would be quite sweet as a child's picnic blanket, especially if I dotted it with a few flowers to complete the meadow effect.


I've tried a few variations today. I think I'm am leaning towards the smallest one - or maybe a combination of the medium & small? Decisions, decisions!

Kitties love quilts

I haven't got very far on my quilting journey, but my first quilt is proving to be very popular with our girl kitty!


I still haven't completed the one I started on last year (my list of unfinished objects is, let's just say, a concern). I have got as far as digging it out of my "to be completed pile", but I have found that I have fallen out of love with it since I started working on it :( Maybe that will make be braver when it comes to quilting it - if I don't love it, I don't have to be as scared of ruining it! 

Wednesday, 28 May 2014

New book! New yarn!

My parents came to stay this weekend and gave me "Crochet one-skein wonders" as a thank you (husband got a new "braai shirt", but that's a whole other story):


(I know, right, how cute is that crocodile? Cool parents!)

I haven't made anything out of it (yet), but I did see this rather cunning yoga mat bag. My poor mat doesn't have a bag and is a proper pain in the behind to schlepp to class, so I have been plotting to make one for a while.


I had intended to sew something, but this is just so pretty.

I popped to my local yarn store on Saturday and found this amazing Sirdar cotton dk yarn.


It was a little pricey, but I was smitten by the colours - the skeins look like spun jewels! Photos do not do its shininess justice - if you get a chance, stop by your local store and see if they have any in.

Not quite sure when I'll get around to this as I am hook deep in hexies, but the magpie in me couldn't resist!