A colleague at work asked me to bake some cupcakes for a friend who was having a baby. I used to do a lot more baking, but I just don't have much time for it any more; however as it was only for 12 cupcakes, I said yes.
My current "go to" cupcake recipe is Hummingbird Bakery's vanilla cupcake. I had avoided getting their book for ages as I had read quite a number of bad reviews on it, but when a friend gave it to me for Christmas, my decision was made for me!
I think the reason why people don't like it is that the recipes' ingredients and methods are a little unconventional. If you don't read the instructions and just make cakes the way you normally would, these will not work properly! I have never had a problem with anything out of their recipe book - everything has worked perfectly (if you do get this book, I heartily recommend the Nutty Apple Loaf).
The reason I like their vanilla cupcake over the many (many) other recipes I have, is that you don't have to cream the butter & sugar together. I know, it's irrational, but I just don't like that part of baking!
The only potential problem with their recipe is that it doesn't make that much cake. It says 12, but I think that's for the more English "fairy cake"-sized confections. If you want the more traditional American muffin-sized cupcakes (and, let's face it, who doesn't want more cake?), the recipe needs to be doubled, or you have to content yourself with 9 or 10 cakes from a batch of batter.
So, this is my interpretation of their recipe, doubled up to make around 18 cupcakes.
Vanilla Cupcakes
Ingredients
240g plain flour
280g caster sugar
3 teaspoons baking powder
1/4 teaspoon salt
80g unsalted butter, at room temperature (not margarine, the taste just isn't the same)
240ml whole milk
2 large, free-range eggs
1 teaspoon vanilla extract
Method
- Preheat the oven to 170C (150C for fan-assisted ovens).
- Line 18-holes of 2 muffin trays with paper cases.
- Sift the flour, sugar, baking powder and salt into a large bowl.
- Add the butter and beat together until the mixture looks like fine breadcrumbs.
- Pour in half the milk and mix until the milk is just incorporated.
- Add the eggs and vanilla to the remaining milk and beat with a fork until combined. As an aside, I always use Nielsen-Massey vanilla extract. It's a little pricey, but the flavour is great.
- Pour this gradually into the flour mixture, beating the mixture as you do so.
- Scrape down the sides of the bowl a few times as you are beating the mixture to ensure everything is nicely incorporated.
- Continue mixing for another minute or so until the mixture is smooth - resist the temptation to over-beat, it results in rubbery cakes!
- Fill the paper cases until they are about (or just under) 2/3 full. This mixture does rise quite a lot, so you don't want to overfill. I always use an ice-cream scoop to fill the cases - it works marvellously!
- Bake in the over for about 25 minutes or until done.
There are a few ways to test for "doneness":
- The cakes smell good
- If you prod them gently, the sponge should spring back
- If you insert a skewer into one, it should come out clean with no liquid or crumbs clinging to it
- The cases should be hugging the cakes tightly and pulling away from the sides of the muffin tins
- Cool the cakes for about 5-10 minutes in the tins, then take them out and put them on a cooling rack to cool completely.
For these ones, I was asked to just top them with buttercream. I always find regular buttercream very sweet, so I decided to spread it on the top rather than pipe it - I thought this would create a better cake to icing ratio! I did guess a bit at the quantities for the icing, but this seemed to work.
Basic buttercream icing
Ingredients
300g icing sugar
120g unsalted butter, softened
A few splashes of whole milk
Method
- Sift the icing sugar into a large bowl.
- Add the butter.
- Beat together until the mixture looks crumbly.
- Gradually, add a little milk (you don't need much) while beating the sugar mixture. Add enough that the mixture comes smoothly together (it's a little magical).
- Continue beating for about 5 minutes until it's smooth and fluffy. You can add any colourings or flavourings at this stage too.
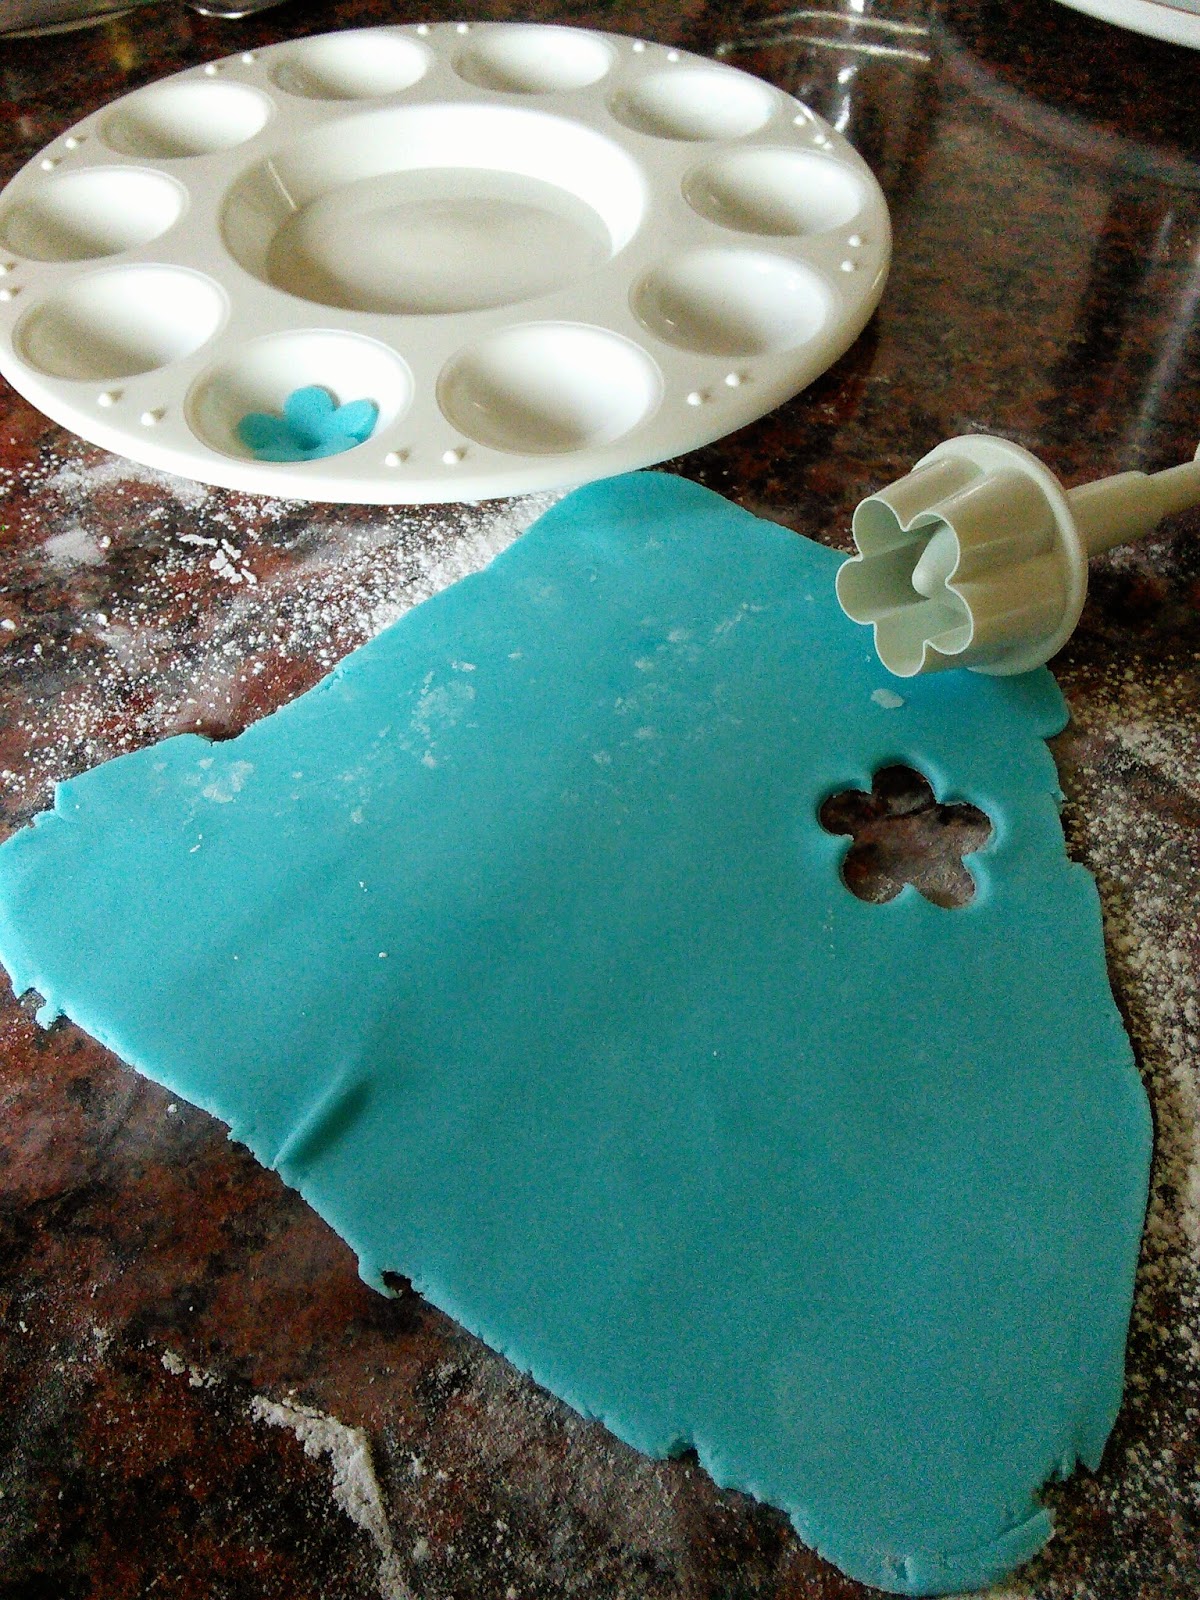
I made some flowers and leaves from sugar paste to go on top of them.
Along with a generous helping of edible glitter, they looked quite sweet :)